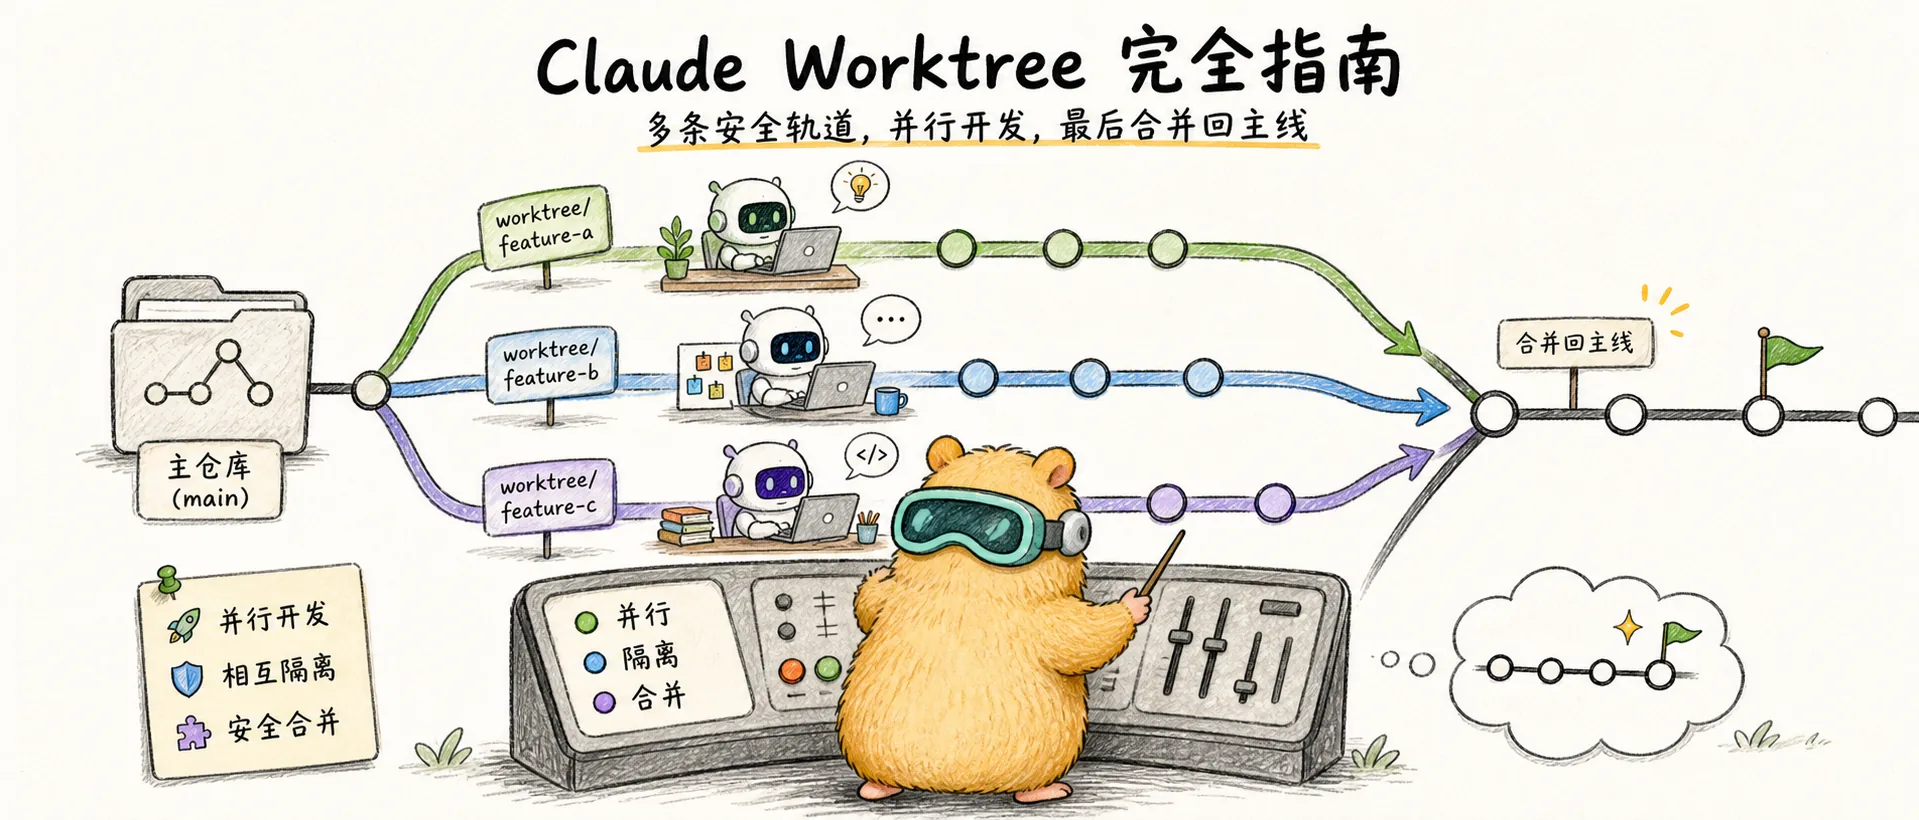
The Complete Guide to Claude Worktree
Master Claude Code's Worktree feature — run multiple parallel Agents without conflicts for true parallel development workflows
Introduction
Worktrees are our #1 productivity tip. Run up to 5 parallel terminal instances plus additional web sessions.
When working on complex tasks with Claude Code, you may have encountered this dilemma: you have three independent tasks to handle, but running multiple Claude instances in the same directory causes code conflicts — one Agent is modifying files while another is touching the same ones, resulting in a mess when merging.
In February 2025, Anthropic released the --worktree command, completely changing the game. Now you can run claude -w feature-1, claude -w feature-2, and claude -w bugfix-1 in three separate terminals, with each Agent working in its own isolated environment without interfering with each other.
Understanding Worktree
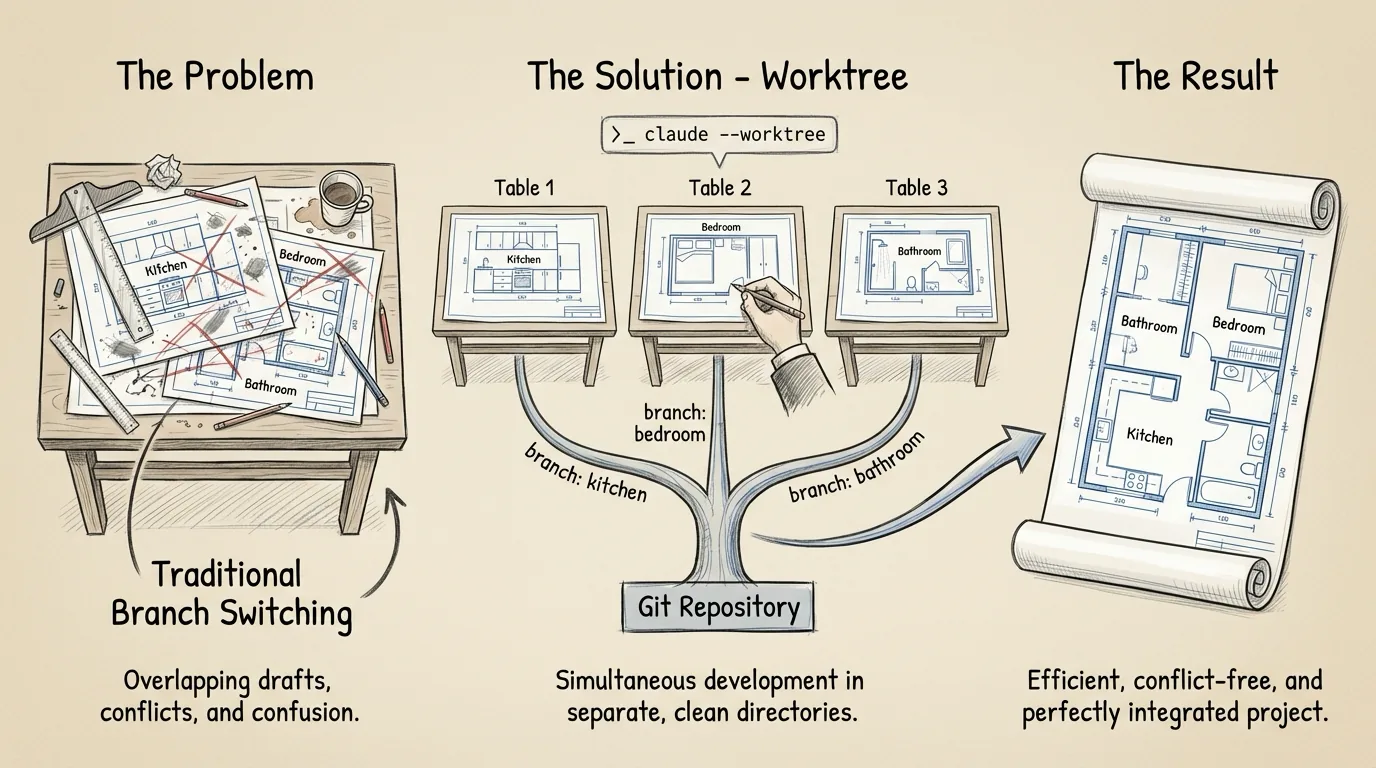
Imagine you're an architect designing three different rooms simultaneously. The traditional approach is drawing on the same blueprint, which gets messy with constant changes. Worktree gives you three separate blueprints, each dedicated to one room's design, to be merged back into the master plan later.
Technically speaking, Worktree is a native Git feature. Claude Code's --worktree command wraps this into a much simpler experience — one command creates an isolated environment, starts a Claude instance, and automatically cleans up when done.
Why Not Just Clone Multiple Times
You might ask: why not just clone the repo multiple times?
| Approach | Disk Usage | Sync Difficulty | Cleanup Complexity |
|---|---|---|---|
| Multiple Clones | Full repo each | Manual pull/push | Manual directory deletion |
| Git Worktree | Working files only, shared .git | Auto-shared history | git worktree remove |
Claude --worktree | Working files only, shared .git | Auto-shared history | Auto-cleanup on exit |
Worktrees share the same .git database — all commit history and branch information is shared. This means a commit created in one worktree is immediately visible to all others.
When to Use Worktree
Before diving in, consider whether your task is a good fit for worktrees.
Rule of thumb: if a task takes more than 30 minutes, consider using a worktree. Short tasks aren't worth the overhead — setting up the environment, installing dependencies, and merging might take longer than the task itself. But for tasks requiring deep work, worktree isolation becomes invaluable.
| Good for Worktree | Not Ideal |
|---|---|
| Independent feature development | Quick changes under 10 minutes |
| Parallel refactoring of different modules | Tasks requiring frequent interaction |
| Long-running tasks | Strong dependencies on other ongoing changes |
| Experimental changes needing isolated testing | Simple bug fixes |
Prerequisites
Before using worktree, ensure these conditions are met:
| Condition | Description |
|---|---|
| Git initialized | Must be in a Git repository (has .git directory) |
| At least one commit | Empty repositories cannot create worktrees |
| Remote branch available | Defaults to checking out from remote branch (e.g., origin/main) |
Complete Workflow: From Creation to Cleanup
Below is the complete workflow from creating a Worktree to final cleanup, in actual development order.
Step 1: Create a Worktree
Creating from Remote Default Branch
Use the -w or --worktree flag to start Claude:
# Create a worktree named "feature-auth" and start Claude
claude -w feature-auth

# Auto-generate a random name (e.g., "bright-running-fox")
claude -w
This command actually does four things:
- Creates a new working directory at
<repo>/.claude/worktrees/feature-auth/ - Creates a new branch named
worktree-feature-auth - Checks out code from the remote default branch (e.g.,
origin/mainororigin/master) — note: not your current branch - Starts Claude Code in the new directory
All worktrees live under the .claude/worktrees/ directory:
your-project/
├── .claude/
│   └── worktrees/
│       ├── feature-auth/      ← First worktree
│       ├── bugfix-123/        ← Second worktree
│       └── refactor-api/      ← Third worktree
├── src/
└── package.json
It's recommended to add this path to .gitignore:
# .gitignore
.claude/worktrees/
Creating from Current/Specific Branch
-w always checks out from the remote default branch and doesn't currently support specifying a base branch. If you want to create a worktree based on your current branch (or a specific branch), there are three approaches:
Approach 1: Manual Git Creation
# Create worktree based on current HEAD
git worktree add -b my-feature .claude/worktrees/my-feature HEAD

# Or based on a specific branch
git worktree add -b hotfix .claude/worktrees/hotfix origin/release-v2

# Then start Claude in that directory
cd .claude/worktrees/my-feature && claude
This gives you full control — you can create worktrees based on any branch or commit, and the working directory starts on the correct branch from the beginning. The official docs also recommend: "For more control over branch and location, create the worktree with Git directly, then run Claude in that directory."
Approach 2: Create in a Session (Recommended)

In an existing Claude session, simply ask Claude to create a worktree:
> start a worktree from the current branch
> start a worktree
Unlike the -w command, worktrees created in a session are automatically based on the current branch, not the remote default branch. Claude handles the worktree creation and switches to it automatically — no manual Git commands needed. If you're already working on a feature branch, this is the most convenient approach — one sentence gets you an isolated environment based on your current branch.
Approach 3: Create with -w First, Switch Branches in Session
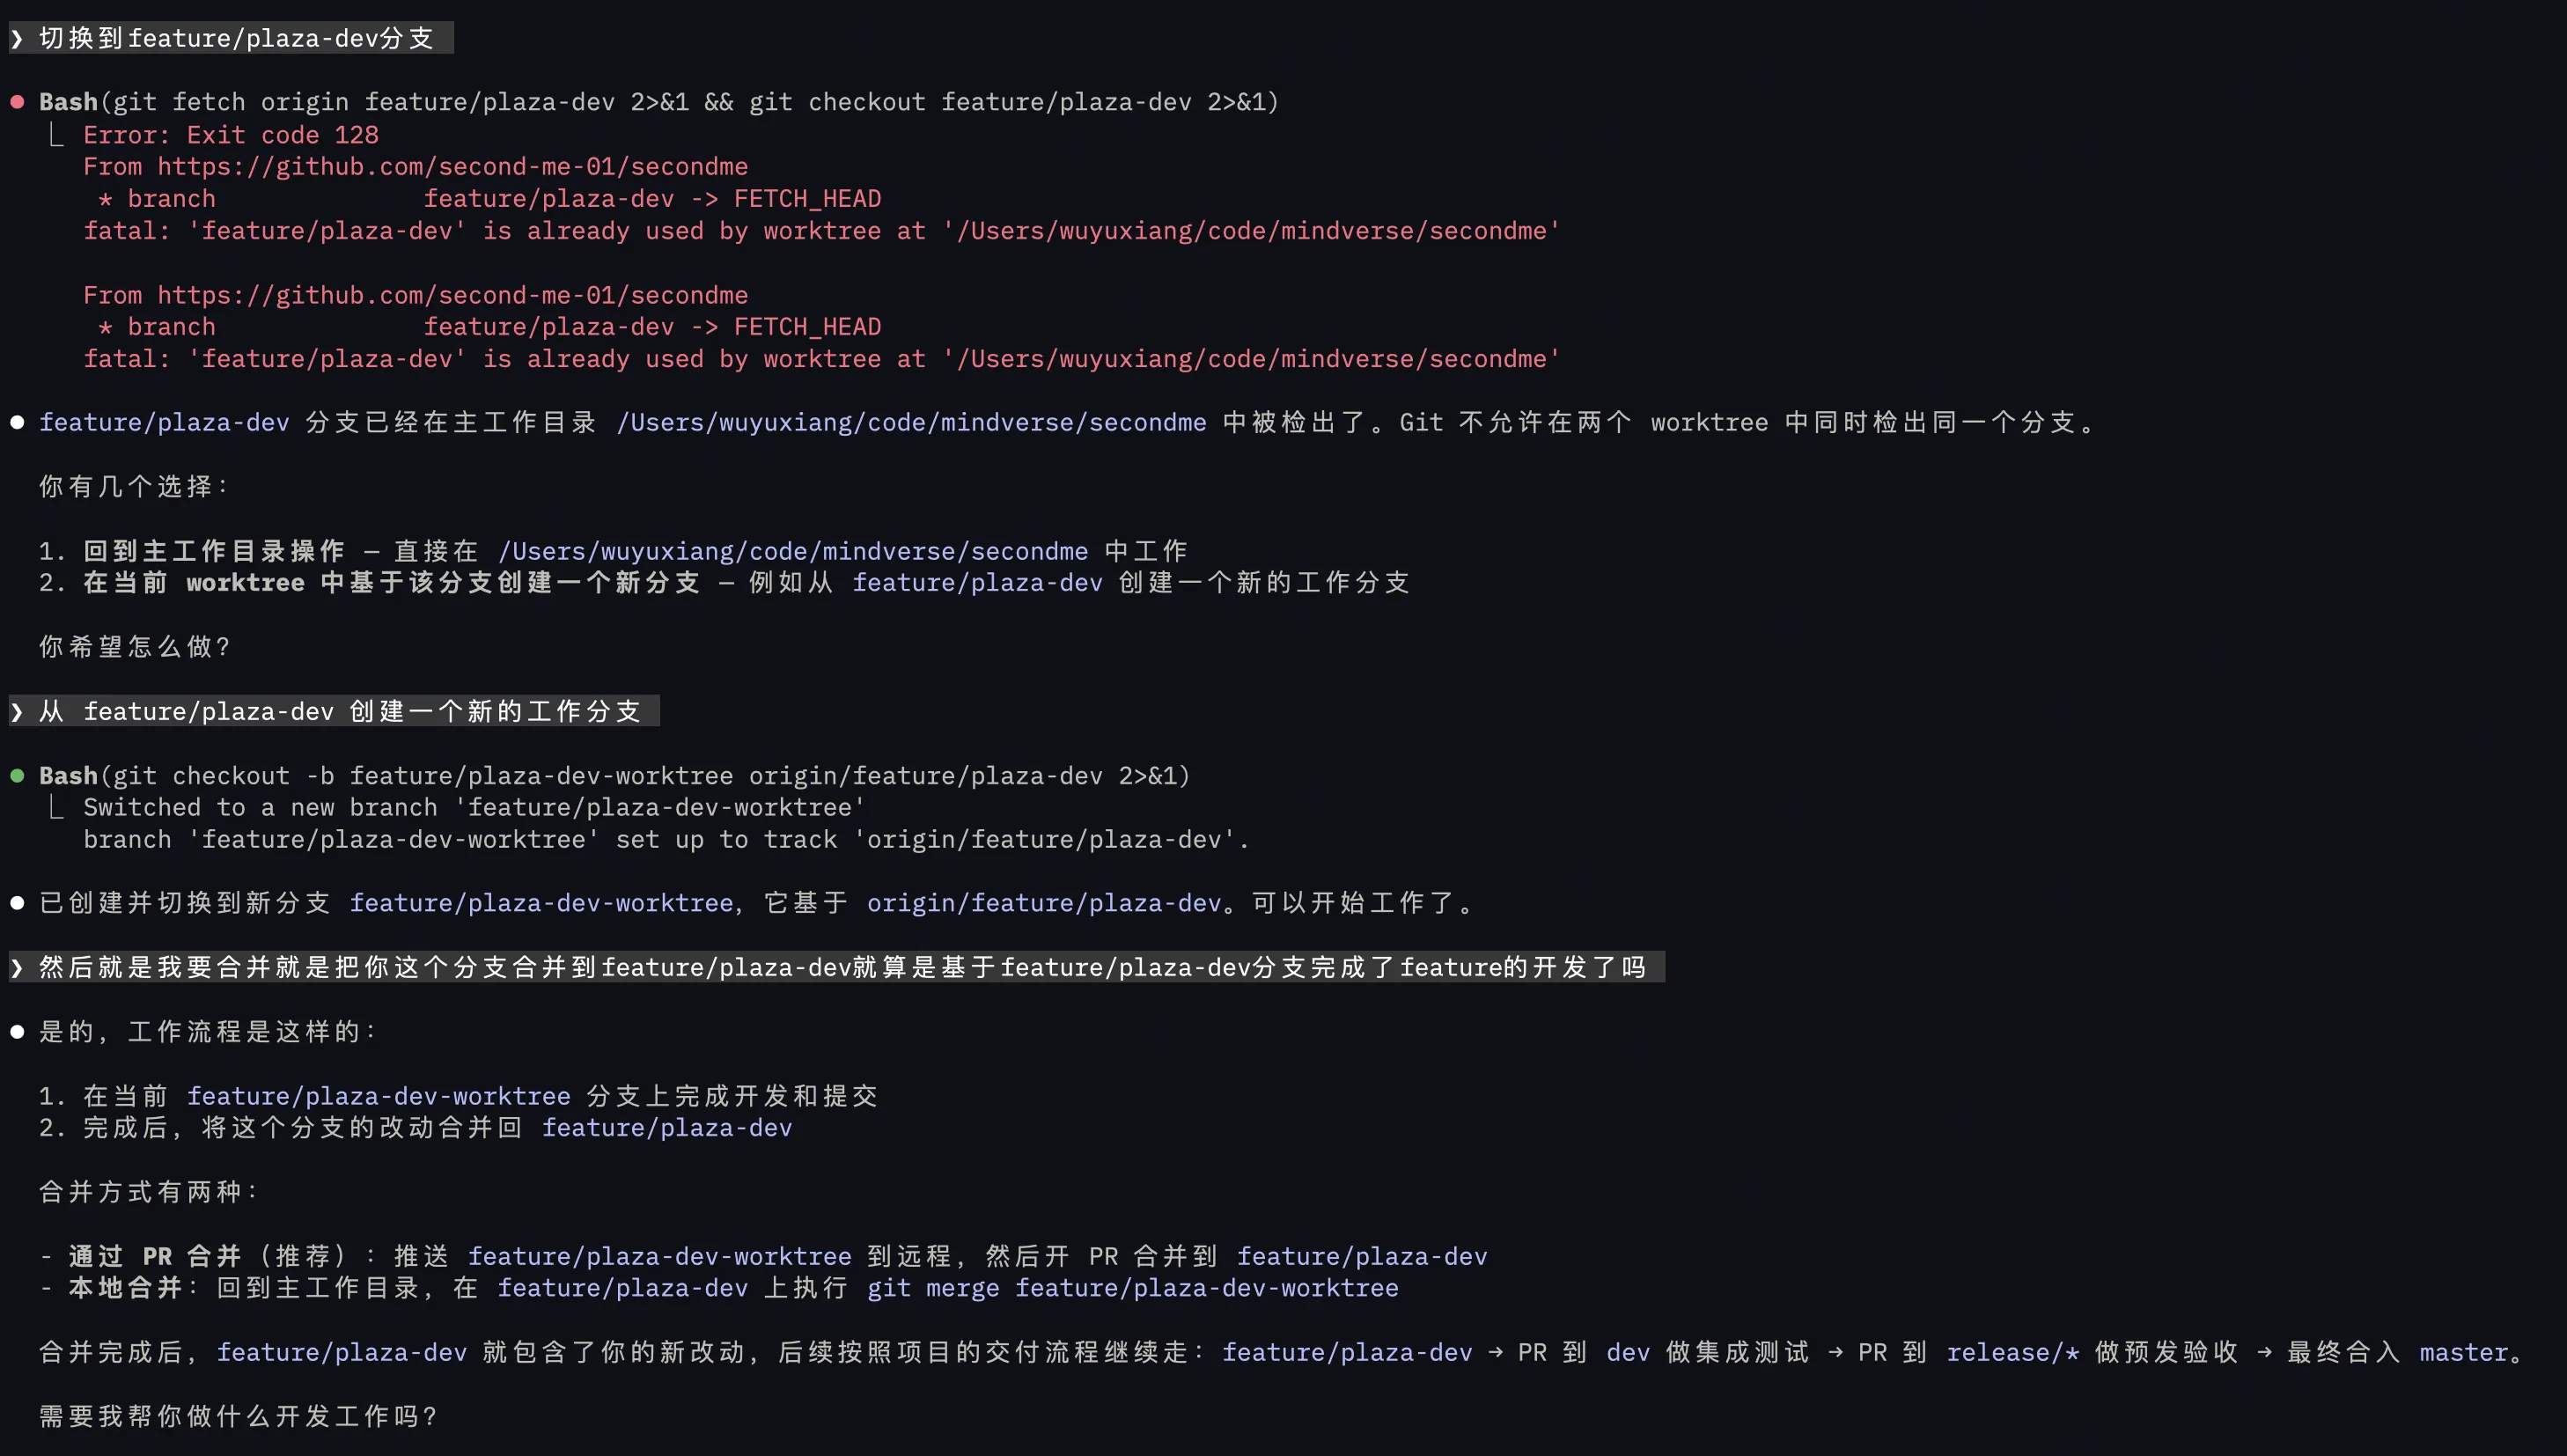
Create a worktree with claude -w, then ask Claude to switch to the target branch within the session. The downside is it pulls from the remote default branch first, then switches — an extra step, less clean than the first two approaches. And if the target branch is already occupied by another worktree, you'll hit a branch conflict:
As shown in the screenshot, Claude detects the branch conflict and offers two choices: go back to the main directory, or create a new working branch based on the target branch. While it works in the end, the process is less straightforward than Approaches 1 and 2.
Advanced: Wrapping with Makefile for One-Click Commands
If you frequently need to create worktrees from the current branch, you can add a shortcut command to the project root's Makefile, chaining creation + opening editor + starting Claude into a single deterministic pipeline:
# Create worktree from current branch and start development environment
# Usage: make worktree name=my-feature
worktree:
	@if [ -z "$(name)" ]; then \
		echo "Usage: make worktree name=<worktree-name>"; \
		echo "Example: make worktree name=fix-login-bug"; \
		exit 1; \
	fi
	@echo "→ Creating worktree from $$(git branch --show-current): $(name)"
	git worktree add -b $(name) .claude/worktrees/$(name) HEAD
	@echo "→ Initializing environment"
	cd .claude/worktrees/$(name) && npm install
	@echo "→ Opening in Zed"
	zed .claude/worktrees/$(name)
	@echo "→ Starting Claude"
	cd .claude/worktrees/$(name) && claude
Usage is very clean:
# Create worktree from current branch, open in Zed, start Claude
make worktree name=fix-login-bug

# Spin up multiple parallel tasks
make worktree name=feature-search
make worktree name=refactor-api
Compared to manually typing multiple Git/cd/claude commands, make worktree name=xxx is just one line, and the process is exactly the same every time — no forgetting a step or mistyping a path. Note that because the Makefile uses native git worktree add, Claude Code's WorktreeCreate Hook won't trigger (that Hook only fires with claude -w or in-session worktree creation). So environment initialization steps (installing dependencies, copying .env, etc.) need to be written directly in the Makefile, as shown in the npm install example above.
Step 2: Initialize Environment
After creating a worktree, the first thing to do is initialize the development environment. Each new worktree is an independent directory — node_modules, virtual environments, .env files, etc. won't carry over automatically.
Claude Code provides WorktreeCreate Hooks to automate environment setup:
{
  "hooks": {
    "WorktreeCreate": [
      {
        "command": "npm install && cp ../.env .env"
      }
    ]
  }
}
This ensures dependencies are automatically installed and environment files are copied every time a worktree is created. Common initialization steps:
| Project Type | Init Command |
|---|---|
| Node.js | npm install or yarn |
| Python | pip install -r requirements.txt or activate venv |
| Go | go mod download |
| General | Copy .env files, set environment variables |
If Hooks aren't configured, you can also run /init at the start of each worktree session to ensure Claude properly understands the current working directory's context and re-reads the project structure and CLAUDE.md configuration.
Step 3: Commit and Merge
Once the environment is ready and development is complete, the next step is merging changes back to the target branch.
Merging back to main
The most common case — the worktree branched from origin/main, and changes should merge back to main. Simply tell Claude in the worktree session:
> Commit all changes, push to remote, then create a PR to mainClaude will automatically handle the full commit → push → gh pr create workflow.
Merging back to a feature branch
If you're developing on the feature-x branch and need to merge worktree changes back to feature-x instead of main:
> Commit and push changes, then create a PR targeting the feature-x branchClaude will execute gh pr create --base feature-x, creating a PR directly to the feature branch.
You can also exit the worktree session (choosing to keep the worktree) and start Claude in the main directory:
> Merge the worktree-my-task branch changes into the current branchIf you only want specific commits from the worktree, you can selectively cherry-pick:
> Show me the commit history of the worktree-my-task branch, then cherry-pick the auth-related commits to the current branchTip: All worktrees share the same
.gitdatabase — commits created in a worktree are immediately visible in the main directory without any push/pull operations.
Step 4: Exit and Cleanup
Once changes are merged, you can exit the worktree session.
When exiting a worktree session, Claude handles things automatically based on the state:
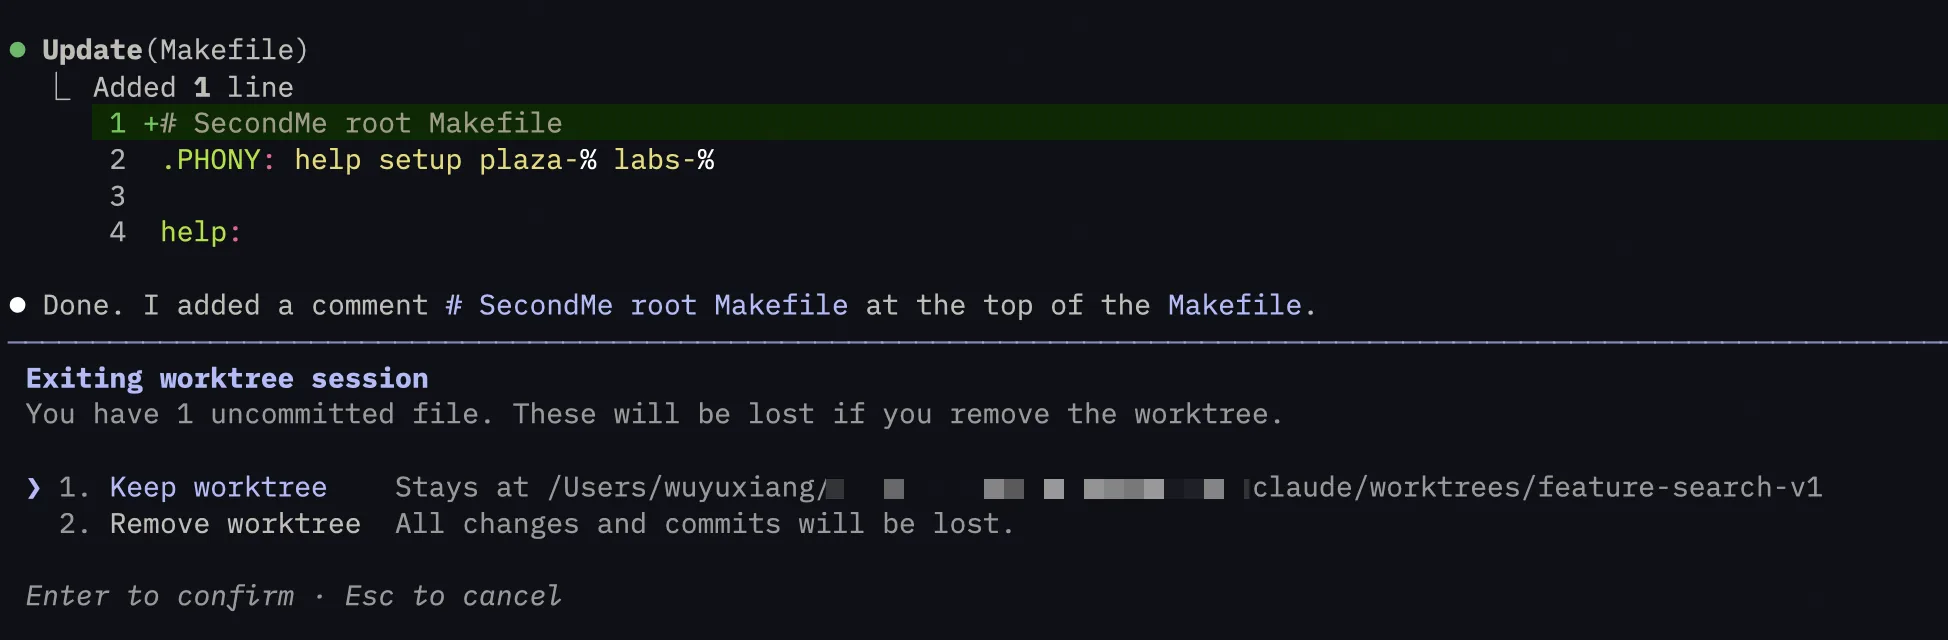
| State | Action |
|---|---|
| No changes | Automatically deletes the worktree and branch |
| Has changes or commits | Prompts you to keep or remove |
Kept worktrees persist for you to continue working on later.
You can also configure a WorktreeRemove Hook to automate cleanup:
{
  "hooks": {
    "WorktreeRemove": [
      {
        "command": "echo 'Worktree cleaned up'"
      }
    ]
  }
}
Manual Management Commands
If you need to manually manage worktrees, use standard Git commands:
# List all worktrees
git worktree list

# Manually remove a worktree
git worktree remove .claude/worktrees/feature-auth

# Clean up stale worktree references
git worktree pruneNote: Don't directly
rm -rfa worktree directory. Usegit worktree removeinstead, or if you've already deleted it by mistake, rungit worktree pruneto clean up stale references.
Parallel Development Patterns
Now that you've mastered the basic workflow, let's explore how to leverage worktrees for parallel development.
Multi-Terminal Parallel
The most common usage is running simultaneously across multiple terminal tabs:
# Terminal 1: Working on user authentication
claude -w feature-auth

# Terminal 2: Fixing a payment bug
claude -w bugfix-payment

# Terminal 3: Refactoring the API module
claude -w refactor-api
Each Claude instance works in its own worktree without interfering with others. You can:
- Have one terminal with Claude developing a new feature
- Have another terminal with Claude fixing a bug
- Continue your own code review in a third terminal
Competitive Implementation
An efficient approach is having multiple Agents independently implement the same feature:
# Three terminals running separately
claude -w feature-search-v1
claude -w feature-search-v2
claude -w feature-search-v3
Give them the same requirements and let each implement independently. Then compare the three solutions and merge the best one. This leverages LLM non-determinism — the same input can produce different outputs, and sometimes the second version is better.
UI design exploration is also great for this pattern. Say you want to redesign your app's interface but aren't sure which style works best:
# Have three Agents implement different styles
claude -w ui-minimal    # Minimalist style
claude -w ui-colorful   # Vibrant colors
claude -w ui-glassmorphism  # Glassmorphism style
After completion, run all three dev servers simultaneously (on different ports), compare side by side, and merge your favorite into the main branch — far more efficient than the traditional "build one version, review, rebuild" cycle.
Subagent Isolation
Worktrees aren't just for the main Claude instance — they work with Subagents too. Add isolation: worktree to your custom Subagent's frontmatter:
---
name: code-migrator
description: Handles large-scale code migrations. Use for batch refactoring.
tools: Read, Write, Edit, Bash, Grep, Glob
isolation: worktree
---

You are a code migration specialist...
You can also tell Claude directly in conversation:
> use worktrees for your agentsWhen a Subagent is configured with worktree isolation:
Main Agent (main directory)
│
├── Launch Migration Agent 1 ──→ worktree-migration-1/
│   └── Processing src/auth/
│
├── Launch Migration Agent 2 ──→ worktree-migration-2/
│   └── Processing src/api/
│
└── Launch Migration Agent 3 ──→ worktree-migration-3/
    └── Processing src/utils/
Each Subagent works independently in its own worktree without interference. When finished, the worktree is automatically cleaned up (if there are no uncommitted changes).
This is especially powerful for large batched changes and code migrations.
Tmux and IDE Integration
The --tmux flag automatically starts Claude in a new Tmux session, so it keeps running even if you close the terminal:
claude -w feature-auth --tmuxIf you use VS Code or Cursor, the source control panel automatically recognizes all worktrees — the main repo shows as one repo, each worktree as an independent repo, and you can switch, commit, and push directly from the IDE. Worktrees also pair well with Ralph loops — each Ralph loop runs in its own worktree, so even a failed loop won't affect the main branch.
Tips & Best Practices
Common Pitfalls
- Branch source confusion:
-wcreates worktrees from the remote default branch, not your current branch. If you runclaude -w my-taskwhile on thefeature-xbranch, the new worktree's code comes fromorigin/mainand won't includefeature-xchanges. To work from your current branch, see Creating from Current/Specific Branch. - Uncommitted changes won't carry over: When creating a worktree, unstaged or uncommitted changes from the main directory won't appear in the new worktree. Worktrees are created based on commit history only, so make sure to commit important changes first.
- Same branch can't be used by multiple worktrees: Git doesn't allow two worktrees to check out the same branch simultaneously. If your main directory is on
feature-x, attempting to also check outfeature-xin a worktree will fail. Each worktree must be on a different branch. - Environment needs reinitialization: Each new worktree doesn't include runtime dependencies like
node_modules. Configure aWorktreeCreateHook for automation (see Step 2: Initialize Environment).
Usage Tips
For best results, stick to 3-4 active worktrees per team. Too many worktrees can become hard to manage, cause memory bloat in Claude sessions, and reduce focus.
Don't overdo it. While you can technically open many worktrees, each Claude instance consumes API credits, too many parallel tasks become hard to track, and merge conflicts get more complex.
Naming conventions: Develop good naming habits for easier management:
# Good naming
claude -w feature-user-auth
claude -w bugfix-payment-123
claude -w refactor-api-v2

# Bad naming
claude -w test
claude -w temp
claude -w 1
Non-Git Version Control
If you use SVN, Perforce, or Mercurial, you can achieve similar isolation by configuring WorktreeCreate and WorktreeRemove Hooks. Once configured, --worktree will invoke your custom commands instead of the default Git behavior.
Final Thoughts
Worktree is a feature the Claude Code team uses every day — Boris Cherny calls it "the #1 productivity tip." The core value is simple: enabling multiple Agents to work in parallel without interfering with each other.
Getting started is easy:
claude -w your-task-nameRelated Reading:
- The Complete Guide to Claude Subagent — Understanding Subagent and Worktree integration
- Ralph Wiggum Deep Dive — Another approach to boosting AI programming efficiency
- Claude System Architecture Explained — Understanding Worktree's place in the overall architecture
References:
- Claude Code Official Docs - Common Workflows
- Boris Cherny's Worktree Announcement
- Git Worktree Official Docs
- incident.io - Shipping faster with Claude Code and Git Worktrees
- Dev.to - Git worktree + Claude Code: My Secret to 10x Developer Productivity
Video Tutorials:
- I'm using claude --worktree for everything now — Full worktree workflow demo
- Git Worktrees: The secret sauce to Claude Code! — Manual worktree creation methods
- Native Worktrees Just Killed Traditional Claude Code Workflows — Native worktree feature walkthrough
- Claude Code Worktrees in 7 Minutes — Quick start tutorial with Subagent usage
- Stop Using Claude Code on One Branch — Benefits of multi-worktree parallel development
Comments
A Complete Guide to Claude's System Architecture
Deep dive into the roles, design intent, and synergies of MCP, Skills, Subagents, Hooks, Plugins, and other components in the Claude system
The Complete Guide to Claude Agent Teams
Master Claude Code's Agent Teams feature - coordinate multiple Claude instances into a team for true multi-agent collaborative development