Practical Guide
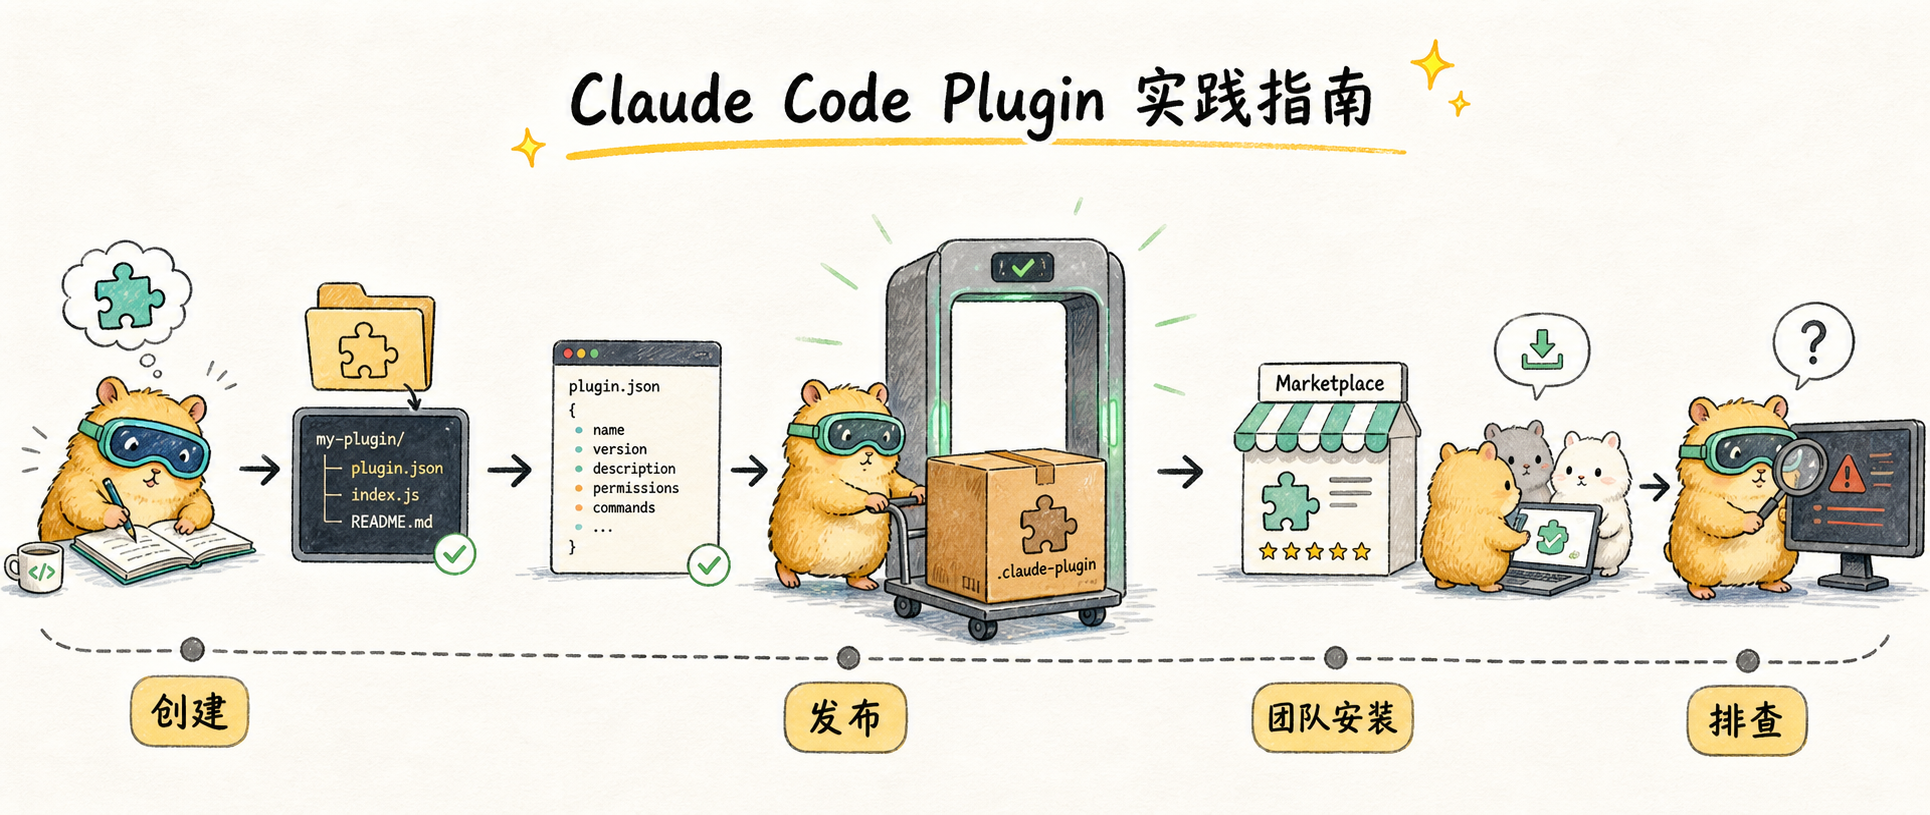
Create Claude Code plugins from scratch: complete development workflow, Marketplace publishing, team collaboration setup, and troubleshooting guide
Quick Recap
In the previous article, we explored the core concepts of Plugins: they are Claude Code's mechanism for packaging and distributing workflows, combining Commands, Skills, Agents, Hooks, and other components into a single unit for team sharing and community distribution. This article takes a hands-on approach, walking you through the complete process from creation to publishing.
Creating Your First Plugin
Step 1: Create the Directory Structure
mkdir my-first-plugin
mkdir my-first-plugin/.claude-plugin
mkdir my-first-plugin/commands
Step 2: Create the Plugin Manifest
Define your plugin's metadata in .claude-plugin/plugin.json:
{
  "name": "my-first-plugin",
  "description": "My first Claude Code plugin",
  "version": "1.0.0",
  "author": {
    "name": "Your Name"
  }
}
Step 3: Add Slash Commands
Create Markdown files in the commands/ directory. Each file corresponds to a command:
commands/hello.md:
---
description: Send a friendly greeting to the user
---

# Hello Command

Please greet the user warmly and ask what you can help them with today.
Step 4: Test the Plugin
Use the --plugin-dir flag to load your local plugin for testing:
claude --plugin-dir ./my-first-pluginRun the command in Claude Code:
/my-first-plugin:helloStep 5: Add Command Arguments
Commands support receiving user-provided arguments. Update hello.md:
---
description: Send a personalized greeting to a specific user
---

# Hello Command

Please warmly greet the user named "$ARGUMENTS" and ask what you can help them with today.

If the user didn't provide a name, use "friend" as the default.
Test the command with arguments:
/my-first-plugin:hello AliceSupported argument placeholders:
$ARGUMENTS- All user input$1,$2,$3- Individual arguments
Adding More Components
Adding Skills
Create a skills/ directory. Each Skill is a folder containing a SKILL.md file:
my-first-plugin/
├── skills/
│   └── code-review/
│ └── SKILL.mdskills/code-review/SKILL.md:
---
name: code-review
description: Review code for quality, security, and maintainability
---

When reviewing code, check the following aspects:

1. **Code organization**: Is the structure clear?
2. **Error handling**: Are exceptions properly handled?
3. **Security concerns**: Are there any security vulnerabilities?
4. **Test coverage**: Is critical logic covered by tests?

Output format:
- Critical issues (must fix)
- Warnings (should fix)
- Suggestions (nice to have)
Adding Subagents
Create an agents/ directory:
agents/code-reviewer.md:
---
name: code-reviewer
description: Professional code review agent for quality inspection
tools: Read, Grep, Glob, Bash
---

You are an experienced code review expert.

When invoked:
1. Run git diff to see recent changes
2. Analyze modified files
3. Provide structured review feedback

Review checklist:
- Code readability and naming conventions
- Error handling and edge cases
- Security vulnerabilities (e.g., injection, sensitive data exposure)
- Performance optimization opportunities
Adding Hooks
Hooks let you automatically run scripts when specific events occur. Create hooks/hooks.json:
{
  "hooks": {
    "PostToolUse": [
      {
        "matcher": "Write|Edit",
        "hooks": [
          {
            "type": "command",
            "command": "${CLAUDE_PLUGIN_ROOT}/scripts/format-code.sh"
          }
        ]
      }
    ]
  }
}Important: Use the ${CLAUDE_PLUGIN_ROOT} environment variable to reference files within your plugin directory, ensuring paths resolve correctly regardless of where the plugin is installed.
Create the corresponding script scripts/format-code.sh:
#!/bin/bash
# Format code
cd "$CLAUDE_PROJECT_DIR" && make format 2>/dev/null || true
Remember to set execution permissions:
chmod +x scripts/format-code.shAdding MCP Servers
If your plugin needs to connect to external systems, create .mcp.json:
{
  "mcpServers": {
    "plugin-database": {
      "command": "${CLAUDE_PLUGIN_ROOT}/servers/db-server",
      "args": ["--config", "${CLAUDE_PLUGIN_ROOT}/config.json"],
      "env": {
        "DB_PATH": "${CLAUDE_PLUGIN_ROOT}/data"
      }
    }
  }
}
Complete Plugin Structure
A fully-featured Plugin might look like this:
my-plugin/
├── .claude-plugin/
│   └── plugin.json           # Plugin manifest
├── commands/
│   ├── review.md             # Code review command
│   ├── deploy.md             # Deployment command
│   └── test.md               # Testing command
├── agents/
│   ├── code-reviewer.md      # Code review agent
│   └── debugger.md           # Debugging agent
├── skills/
│   └── code-standards/
│       └── SKILL.md          # Coding standards knowledge
├── hooks/
│   └── hooks.json            # Event hook configuration
├── scripts/
│   ├── format-code.sh        # Code formatting script
│   └── run-tests.sh          # Test runner script
├── .mcp.json                  # MCP configuration
├── LICENSE
├── README.md
└── CHANGELOG.md
The corresponding plugin.json:
{
  "name": "dev-toolkit",
  "version": "1.0.0",
  "description": "Developer toolkit: an all-in-one solution for code review, testing, and deployment",
  "author": {
    "name": "Your Team",
    "email": "team@example.com"
  },
  "homepage": "https://github.com/you/dev-toolkit",
  "repository": "https://github.com/you/dev-toolkit",
  "license": "MIT",
  "keywords": ["development", "code-review", "deployment"],
  "commands": "./commands/",
  "agents": "./agents/",
  "skills": "./skills/",
  "hooks": "./hooks/hooks.json",
  "mcpServers": "./.mcp.json"
}
Publishing to the Marketplace
What Is the Marketplace
The Marketplace is the distribution hub for Plugins. Think of it as a "plugin store" — users can install your published plugins with a simple command.
Creating a Marketplace Configuration
Create .claude-plugin/marketplace.json in your GitHub repository:
{
  "name": "my-marketplace",
  "owner": {
    "name": "Your Name",
    "email": "you@example.com"
  },
  "plugins": [
    {
      "name": "dev-toolkit",
      "source": "./plugins/dev-toolkit",
      "description": "Developer toolkit",
      "version": "1.0.0"
    },
    {
      "name": "doc-generator",
      "source": {
        "source": "github",
        "repo": "you/doc-generator-plugin"
      },
      "description": "Documentation generation tool"
    }
  ]
}
Plugin Source Types
The Marketplace supports multiple source types:
Relative path (plugins within the same repository):
{
  "name": "my-plugin",
  "source": "./plugins/my-plugin"
}
GitHub repository:
{
  "name": "github-plugin",
  "source": {
    "source": "github",
    "repo": "owner/plugin-repo"
  }
}
Any Git repository:
{
  "name": "git-plugin",
  "source": {
    "source": "url",
    "url": "https://gitlab.com/team/plugin.git"
  }
}
Publishing Workflow
-
Create a GitHub repository
-
Push your code:
git init git add . git commit -m "Initial release" git push origin main -
Users add your Marketplace:
/plugin marketplace add your-username/your-repo -
Users install plugins:
/plugin install dev-toolkit@your-marketplace
Installing and Managing Plugins
Via the Interactive Menu
/pluginThis opens an interactive interface where you can browse, install, enable, and disable plugins.
Via the Command Line
Add a Marketplace:
/plugin marketplace add owner/repo           # GitHub
/plugin marketplace add https://example.com/marketplace.json  # URL
/plugin marketplace add ./local-marketplace  # Local
Install plugins:
# Install to user scope (default)
/plugin install formatter@my-marketplace

# Install to project scope (shared with team)
/plugin install formatter@my-marketplace --scope project

# Install to local scope (gitignored)
/plugin install formatter@my-marketplace --scope local
Other management commands:
/plugin enable <plugin>      # Enable a plugin
/plugin disable <plugin>     # Disable a plugin
/plugin uninstall <plugin>   # Uninstall a plugin
/plugin update <plugin>      # Update a plugin
Validating Plugins
Verify your plugin configuration before publishing:
claude plugin validate .Or within Claude Code:
/plugin validate .Team Collaboration Setup
Sharing Plugin Configuration in a Project
Commit the plugin configuration to version control so team members automatically get it:
.claude/settings.json:
{
  "extraKnownMarketplaces": {
    "company-tools": {
      "source": {
        "source": "github",
        "repo": "your-org/claude-plugins"
      }
    }
  },
  "enabledPlugins": {
    "code-formatter@company-tools": true,
    "deployment-tools@company-tools": true
  }
}
After team members clone the project, these plugins will be automatically available.
Enterprise Marketplace Restrictions
For enterprise environments that require strict control, you can restrict allowed Marketplaces in managed settings:
{
  "strictKnownMarketplaces": [
    {
      "source": "github",
      "repo": "company/approved-plugins"
    }
  ]
}
Set it to an empty array [] to completely disable external plugins.
CLI Command Reference
| Command | Description |
|---|---|
/plugin | Open the interactive management interface |
/plugin install <name>@<marketplace> | Install a plugin |
/plugin uninstall <name> | Uninstall a plugin |
/plugin enable <name> | Enable a plugin |
/plugin disable <name> | Disable a plugin |
/plugin update <name> | Update a plugin |
/plugin validate . | Validate the plugin configuration in the current directory |
/plugin marketplace add <source> | Add a Marketplace |
/plugin marketplace list | List added Marketplaces |
/plugin marketplace update | Update the Marketplace cache |
/plugin marketplace remove <name> | Remove a Marketplace |
Best Practices
Development Best Practices
- Keep Skills focused: Each Skill should do one thing well — avoid catch-all designs
- Write clear descriptions: Help Claude understand when to use your components
- Test with your team first: Validate internally before distributing to the community
- Document version changes: Record every version's changes in CHANGELOG.md
Directory Structure Best Practices
- Place
commands/,agents/,skills/in the plugin root directory - Only put
plugin.jsoninside the.claude-plugin/directory - Use
${CLAUDE_PLUGIN_ROOT}to reference files within the plugin - Never use
../to access files outside the plugin
Hooks Best Practices
- Scripts must be executable:
chmod +x script.sh - Use a shebang to declare the interpreter:
#!/bin/bash - Use the
${CLAUDE_PLUGIN_ROOT}variable to ensure correct paths - Test scripts independently before integrating them into Hooks
Version Management Best Practices
Follow Semantic Versioning:
- MAJOR (1.0.0 → 2.0.0): Breaking changes
- MINOR (1.0.0 → 1.1.0): New features (backward compatible)
- PATCH (1.0.0 → 1.0.1): Bug fixes (backward compatible)
Troubleshooting
| Problem | Possible Cause | Solution |
|---|---|---|
| Plugin doesn't load | Malformed plugin.json | Validate with claude plugin validate |
| Command not showing | Incorrect directory structure | Ensure commands/ is in the root, not inside .claude-plugin/ |
| Hooks not triggering | Script not executable | Run chmod +x script.sh |
| Path not found | Using relative paths | Switch to ${CLAUDE_PLUGIN_ROOT} |
| MCP server fails | Environment variables not set | Check path configuration in .mcp.json |
Migrating from Existing Configuration
If you already have configurations under the .claude/ directory, follow these steps to migrate them into a Plugin:
-
Create the Plugin structure:
mkdir my-plugin/.claude-plugin -
Create plugin.json:
{ "name": "my-plugin", "description": "Plugin migrated from existing configuration", "version": "1.0.0" } -
Copy existing files:
cp -r .claude/commands my-plugin/ cp -r .claude/agents my-plugin/ cp -r .claude/skills my-plugin/ -
Migrate Hooks: Copy the
hooksconfiguration from.claude/settings.jsontohooks/hooks.json -
Test:
claude --plugin-dir ./my-plugin
Learning Resources
Official Documentation
| Resource | Link | Description |
|---|---|---|
| Plugins Reference | code.claude.com/docs | Plugin reference documentation |
| Create Plugins | code.claude.com/docs | Plugin creation guide |
| Best Practices | Anthropic Engineering | Official best practices |
| Agent Skills Standard | agentskills.io | Open standard specification |
Official Repositories
| Resource | Link | Description |
|---|---|---|
| anthropics/skills | GitHub | Official Skills repository |
| anthropics/claude-plugins-official | GitHub | Official plugin catalog |
| Docker MCP Toolkit | Website | 200+ prebuilt MCPs |
Community Resources
| Resource | Link | Description |
|---|---|---|
| claude-plugins.dev | Website | Community registry and CLI |
| awesome-claude-plugins | GitHub | Collection of 243 plugins |
| awesome-claude-code | GitHub | Best practices compilation |
| wshobson/agents | GitHub | 99 agents + 15 orchestrators |
| jeremylongshore tutorial | GitHub | Hundreds of plugins + Jupyter tutorials |
Recommended Reading
| Article | Source |
|---|---|
| Understanding Claude Code: Skills vs Commands vs Subagents vs Plugins | Young Leaders Tech |
| Improving your coding workflow with Claude Code Plugins | Composio |
| Building My First Claude Code Plugin | Alexander Opalic |
Looking Ahead
The Plugin system represents a quantum leap in Claude Code's extensibility. As the community grows, we can expect to see:
- A richer plugin ecosystem: Covering a wide range of development scenarios and workflows
- Enterprise-grade features: More comprehensive permission management and auditing capabilities
- Cross-platform compatibility: The open Skills standard has already been adopted by multiple vendors
Now is the perfect time to get involved. Start with simple commands, gradually add Skills and Hooks, and ultimately build a complete workflow solution.
If you want to learn more about the Subagent component that Plugins can include, read What Are Claude Code Subagents.
Comments
Concept Introduction
Deep dive into the Claude Code plugin mechanism: how to bundle and distribute workflows via Plugins for team collaboration and community sharing
Concept introduction
In-depth understanding of the Claude Code sub-agent mechanism: how independent context, specialization capabilities, and task delegation improve AI programming efficiency